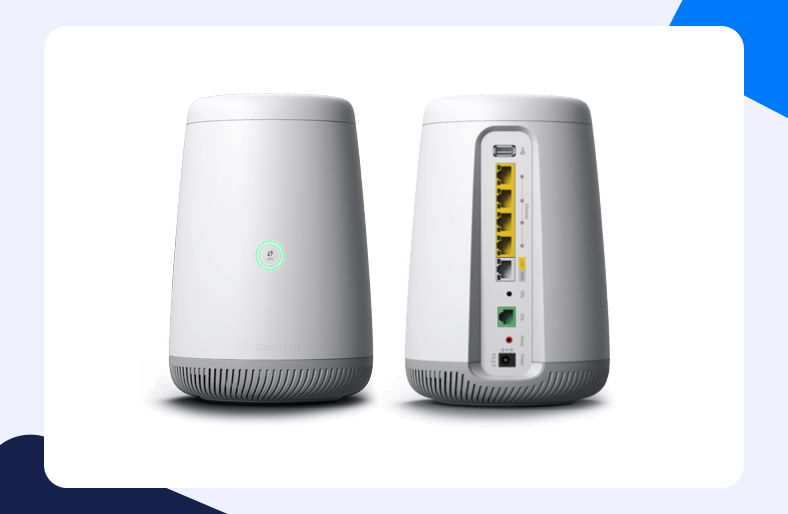
Connectivity today boils down to the idea of access to the internet. For your network, any such connection is provided by a router. Naturally, a router such as CenturyLink is a single point of access to the internet for your device.
Now it would be no fun if the said access had blockages. Sadly, network access is often blocked by the CenturyLink router’s firewall. But the solution for this particular problem is rather simple – use CenturyLink Port Forwarding.
Want to learn more about the intricacies? Follow this step-by-step guide for Port Forwarding CenturyLink router like a pro!
What is Port Forwarding on CenturyLink router
The CenturyLink router, like other routing devices, is designed to grant access requests to (or from) the internet. The data transference during this communication takes place via specific ports. These ports are to be forwarded (or opened) to let data through. This phenomenon is known as Port Forwarding.
Why is Port Forwarding needed for the CenturyLink router
A built-in firewall provides network security to your CenturyLink router. A firewall is a software that protects your network against malicious threats by blocking requests coming from external sources.
Such requests are often directed by genuine sources such as gaming servers, streaming platforms, and even a simple zoom call. Now to let your valid data through, you will have to open (or forward) some gates. Hence, Port Forwarding CenturyLink router allows external devices to access your local network over the internet via specific channels or forwarded ports.
Steps for CenturyLink Port Forwarding
Now that you know the basics of CenturyLink Port Forwarding, it is time to move on to the main game. While Port Forwarding CenturyLink router might seem intimidating for a newbie, the process is rather simple. With just a few basic steps you can easily set up configurations for your network devices.
The configurations are divided into two simple steps to help you better understand the instruction flow:
Phase 1 – Logging into your CenturyLink router
To change your device’s settings, you will have to log into the CenturyLink router’s dashboard. Here is how you can gain access to your router’s settings.
- Open a web browser in your system.
- In the URL tab enter your router’s IP address.
- The modem IP address for the CenturyLink router is http://192.168.0.1. Type it in the URL.
- Hit Enter.
- The CenturyLink router’s login page will be visible on your screen. To log in you will need your username and password.
- After entering the relevant credentials, you will be directed to the CenturyLink router’s dashboard.
Phase 2 – Configuring Port Forwarding settings
Now that you have successfully logged in to your CenturyLink router’s dashboard, we will move on to the next phase for Port Forwarding CenturyLink router. Here we will actually set up the configuration to open ports:
- On your router’s dashboard, look for the Advanced Setup option.
- Select the Advanced Setup option in the upper left options panel.
- In the Advanced Setup tab, search for Port Forwarding on the left-hand panel.
- In the Port Forwarding tab, you can now add a new Port Forwarding entry.
- Firstly select the device for which you are configuring Port Forwarding. The device could be available in the dropdown or you can manually add its IP address.
- Enter the required ports in the relevant field for starting and ending ports. These ports will be specific to your cause.
- Now is the time to select the protocol for a Port Forwarding entry. It would imply you to select TCP or UDP or you can choose both (if the option is available).
- Now you will be asked to enter the remote port or an IP. Select all IP Addresses or enter a specific address.
- Select Apply to save the router configuration.
Is Port Forwarding for CenturyLink router safe
Now that we have gone through the entire process – it is a relevant question to ask. The answer would be a yes. Port Forwarding is a technique that is generally utilized worldwide to resolve connectivity issues. Not only does it help networks access external devices, but it also improves connectivity rates.
The good part is that Port Forwarding provides all these benefits without any security overhead. As long as your system is free from any malicious threat lurking within, Port Forwarding would be a safe option for you. And do you know what would ensure the highest level of security for your system?- a reliable VPN. An authentic service like PureVPN not only provides your system with great connectivity but also protects your system against any malicious threats. Talk about killing two birds with one stone!
And there you have it. That was all there was to learn about Port Forwarding CenturyLink routers. Wait! Are you intrigued with the science of CenturyLink Port Forwarding? Check out our guides for games and other routing devices.

