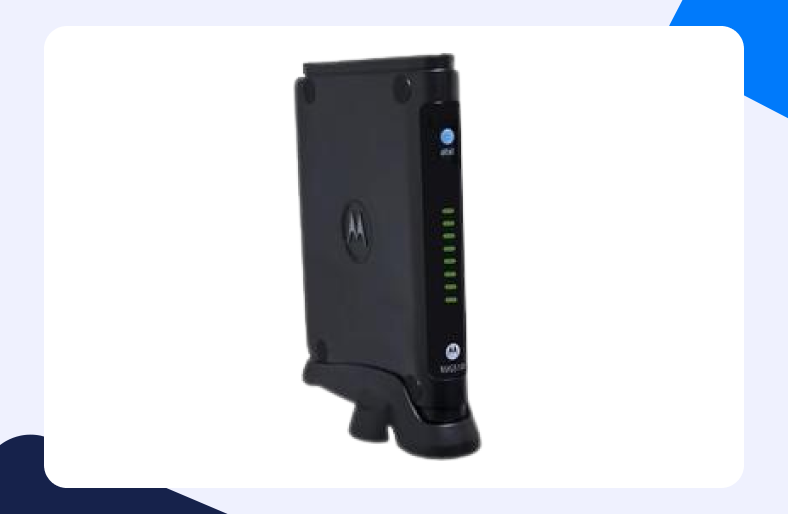
With connections to be made and data to be transferred, one needs a trusted routing device to do the work efficiently. Motorola NVG510 is just the router. But even an efficient router like Motorola NVG510 is no good without Port Forwarding.
Why? Well Motorola NVG510 Port Forwarding is the only one that will allow you to actually connect with external devices. So all your connectivity problems begin with unforwarded ports.
Do you understand how? Read the simple guide to understand all there is to know about Port Forwarding Motorola NVG510.
Motorola NVG510 Port Forwarding – what is it
Essentially Port Forwarding is a technique that helps to create free pathways for the unhindered transference of data. If you are not a gaming geek, you might have only heard of Port Forwarding in passing.
Gamers usually utilize this technique to allow external communication for their devices. It effectively allows systems to connect to external sources such as gaming servers. Port Forwarding Motorola NVG510 will stabilize your connections and also likely improve your connection speed.
Port Forwarding Motorola NVG510 – Why is it necessary
Motorola NVG510 router provides a level of security for your home network using its built-in firewall. Now, this firewall would block all connection requests from external sources if the router doesn’t know better.
Well, the point of a router is to have the ability to connect to devices outside the boundary of my local network. Hence, we have to forward or open some ports to let data from certain external sources access our network through our firewall. That too without getting blocked.
What do you need for Port Forwarding Motorola NVG510
There are certain things you might want to note down before we begin the actual Port Forwarding. Since it is a very simple procedure, having your information ready will further simplify the process. Here is all you need for Motorola NVG510 Port Forwarding:
- The IP address of your router to log into your settings.
- The IP address of your system to create a Port Forwarding entry.
- The TCP and UDP ports which are to be forwarded.
Phase I – find your router’s IP
You can find your router’s IP address using a couple of methods. From the router itself to navigating the control panel, any technique will prove fruitful.
Here is how you can do the same using the command prompt:
- Go to the Start Menu and type cmd in the search bar.
- Hit Enter.
- This will open up the command prompt. Type ipconfig and press Enter to continue.
- You will now see a display of information about your network.
- Browse down to the Default Gateway section.
- Note down the IP address beside it and close the terminal.
Phase II – set up a static IP
A static IP is a much better option as compared to its dynamic counterpart. With a static IP address, you will not have to worry about making sure whether your ports are still open or not.
Here is how you can set up a Static IP:
- Locate the URL tab of a web browser.
- Type the IP address of your router in the tab.
- Hit Enter.
- Log into the Motorola NVG510 router’s settings by entering the correct username and password.
- Once logged in, navigate to the DHCP reservations tab.
- Enter a static IP address against your device’s MAC address.
- Save the changes.
Phase III – steps for Motorola NVG510 Port Forwarding
Now that we have all the required information, we shall proceed with Port Forwarding Motorola NVG510. Port Forwarding is a pretty simple procedure as it follows a series of general steps. Here is how you can Port Forward for Motorola NVG510:
- Locate the URL tab of a web browser.
- Type the IP address of your router in the tab.
- Hit Enter.
- Log into the Motorola NVG510 router’s settings by entering the correct username and password.
- Once logged in, navigate to the Port Forwarding tab.
- You can do so by first clicking on the Firewall option on Motorola NVG510’s dashboard.
- Then click on NAT/Gaming to further proceed.
- Under Manage Custom Settings, click on Custom Services.
- Now you can create a new Port Forwarding entry.
- Enter a service name for the entry.
- Now enter the port numbers into the Global Port Range.
- If you have a range enter only the minimum and the maximum port numbers. If you have a single port to be forwarded, write the same number in both fields.
- Enter the same host port as above for Base Host Port.
- Select a protocol type for your entry.
- Click on Add.
- Select Return to NAT/Gaming.
- In the Services dropdown, select the port forward entry you created.
- Select the device for which the ports are being forwarded in Needed by Device.
- Click Add.
And that’s it! You have now successfully forwarded ports. Are you as intrigued by Motorola NVG510 Port Forwarding as we are? Check out our other guides for games and router port forwarding.

